


- covering it with scales instead of bare skin
- lacey wings instead of fabric
- posing on something rather than sitting on a flat surface
- multiple bake stages rather than baking once after it was complete
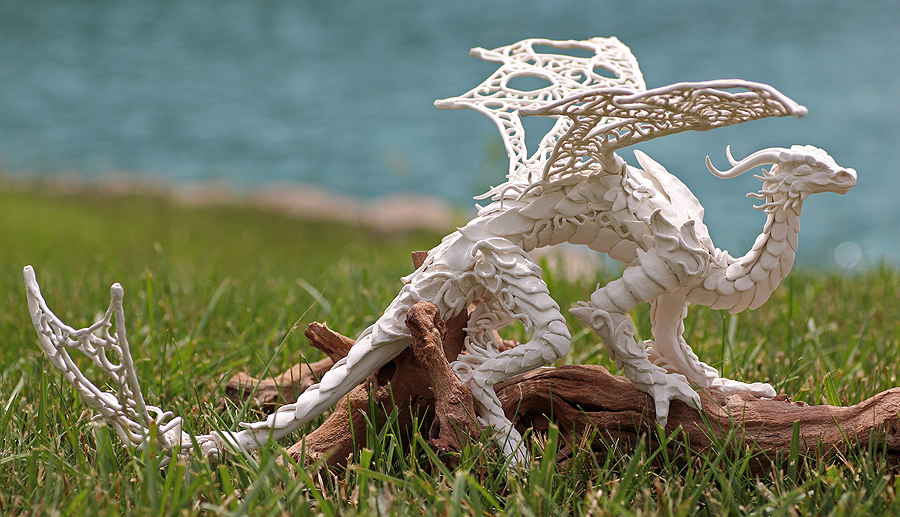
I've tentatively named this dragon Lacewing. He has a wingspan of about 2.5~3 feet and just barely fit into my oven.
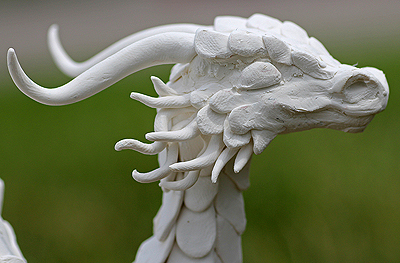
Here we find Lacewing enjoying the sunlight in his native habitat: in the grass near the small pond outside my apartment complex. You can see the in-between-scale-pattern-filler curlies I put between his back and belly plates.
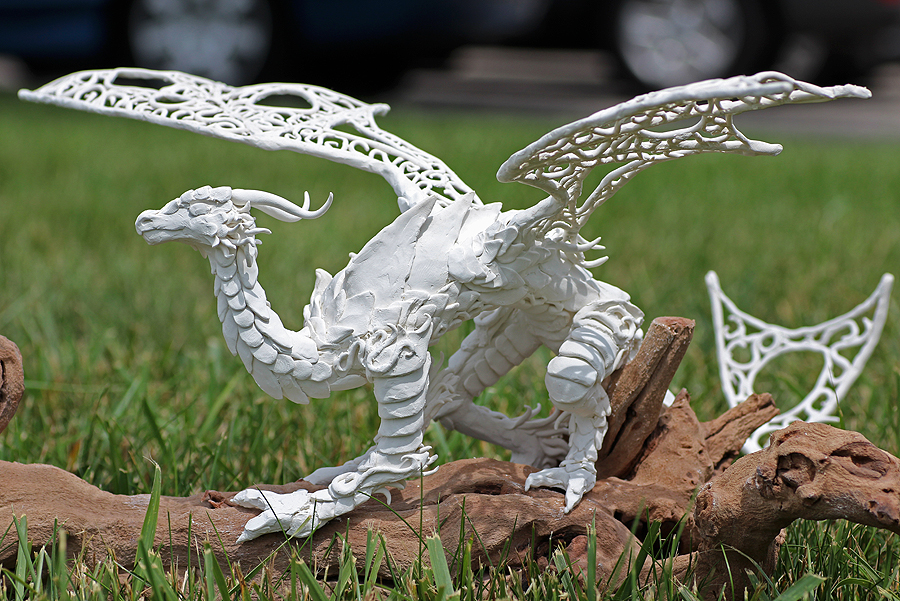
 Doing multiple bakes was good and bad. I could pick him up and work on the belly scales, bake it once it was ready, and the not worry about smudging them later. However, Sculpey clay is brittle once it's been baked. If I picked him up to work on the legs, I had to be careful about distributing his weight evenly on my fingers, otherwise a scale might snap. Once the leg fringes were baked, I had to be really careful not to snap them.
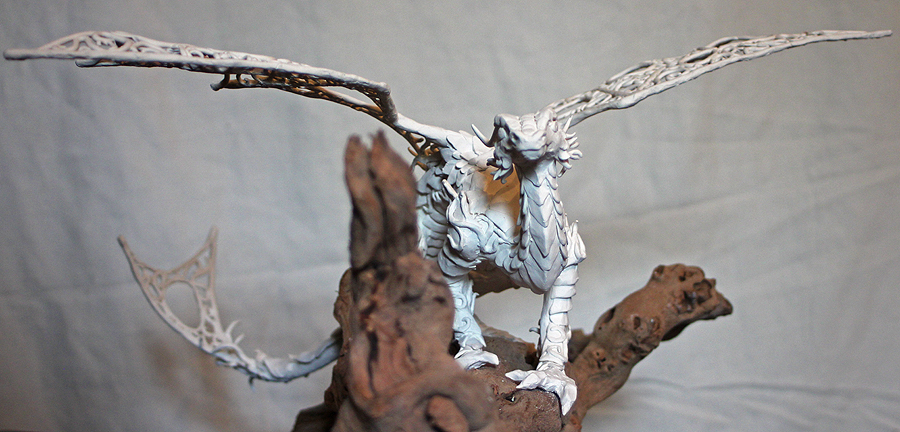
His left paw kept breaking off because the wire armature under the clay doesn't extend into the hands, just the wrists. Next time I do this, that armature will extend all the way to the fingers, to keep them from breaking!
He looks smooth from a distance but it's really hard to get the scales smooth up close. You could probably reconstruct my fingerprints from this sculpture. I am not satisfied with the eyes, but I couldn't decide what else to do. I didn't want to stick glass beads or plastic crystals in for eyes, but the lumps of clay are not very arresting.
While I was working on Lacewing, Lupin would play around on my sketchbook on the table next to me. He loved chewing it! Sometimes he would get jealous, though, and try to take a nibble out of Lacewing's tail. That was his signal that it was time for me to pay attention to the Really Important White Flying Thing of the apartment.
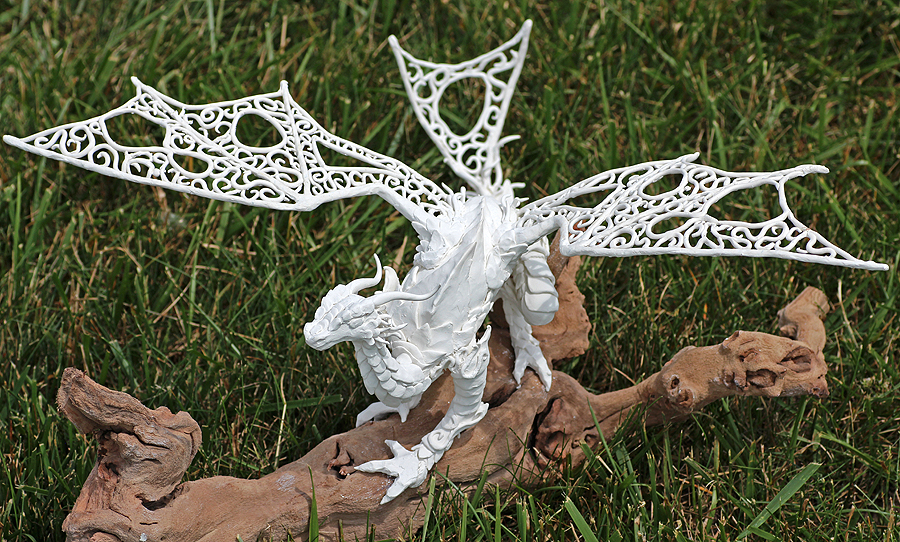
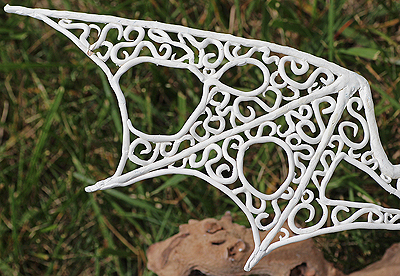 There is wire supporting the main "fingers" of the wing, but the curlies filling out the wing are just attached to each other. They look a lot messier from underneath, where most of my clumsy attaching is visible
The wing patterns aren't symmetrical. I just doodled with the clay to fill in the space. The curlies would have been overwhelming if I hadn't also included the empty spaces just like the original artist did. The curlies I did were rougly the same size scale and smaller than the original artist's. I think if I were to do this again, I would vary the size scale of the curly pattern.
I decorated the wings separately from the body, baked them, and then attached them to the body (required another bake to harden the attachment). To my surprise, the wings haven't fallen off yet! I had intended one wing to stick up more vertically, but it wouldn't fit in the oven that way.
Trivia: I originally got the piece of wood for Lupin to hang around on and chew. Lacewing isn't attached to the wood, just resting balanced on it.